Eliminate Job Group Errors
Correcting Errors & Virtual Job Groups
The only items that will cause errors in the Job Group table are:
- Missing job group codes
- Missing job group names
- Missing local census area
- Missing non-local census area
- Missing weight
- Weights not totaling 100%
1) Click the Job Groups icon.
2) Type missing job group Codes.
3) Type missing job group Names.
4) Fix typos or mistakes:
- a) Select the text that you want to change.
- b) Type the correct text.
5) Delete blank records:
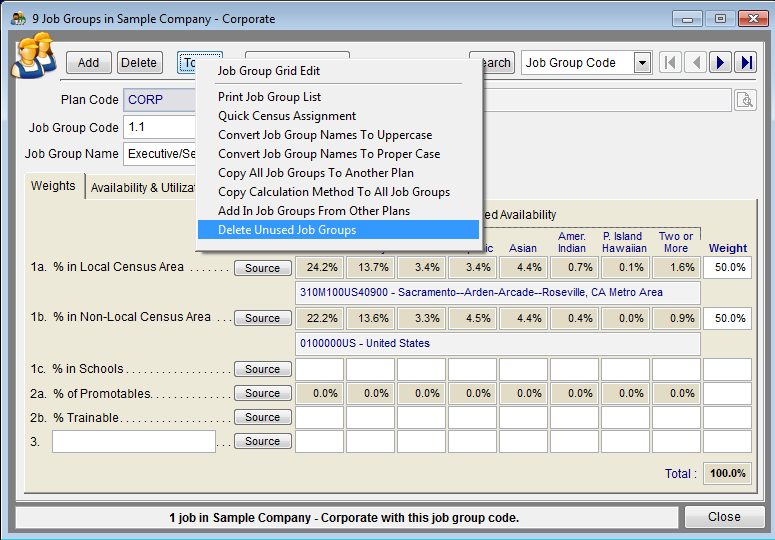
- a) Select Tools and then Remove Unused Job Groups.
- b) If job groups remain that you believe are unused you will need to go to the Jobs icon, remove unused jobs, return to Job Groups and repeat step 5a.
6) To add a single job group, click Add then type a job group code and its title.
![]() If working with all plans, Pro users should also type the plan code of the job group.
If working with all plans, Pro users should also type the plan code of the job group.
7) To delete a single job group, select the job group and then click Delete.
- a) Confirm deletion.
- b) Reassign jobs if necessary.
8) Assign weights and statistical sources to your recruiting factors by following the steps in the Assign Weight to Your Recruiting Factors and Determine Availability.
Virtual Job Groups
![]() When employees who report in from other AAPs within the same company are pulled into an AAP, the jobs and job group codes from their work locations follow. If a trailing job group does not exist in the supervisor’s AAP, the program will create a virtual job group when it publishes reports that display them. Virtual job groups are identified with brackets around the job group name in these reports. It is wise to eliminate virtual job groups from a host AAP before finalizing your AAP so that a separate goal is not set for the virtual job group.
When employees who report in from other AAPs within the same company are pulled into an AAP, the jobs and job group codes from their work locations follow. If a trailing job group does not exist in the supervisor’s AAP, the program will create a virtual job group when it publishes reports that display them. Virtual job groups are identified with brackets around the job group name in these reports. It is wise to eliminate virtual job groups from a host AAP before finalizing your AAP so that a separate goal is not set for the virtual job group.
If you would like to eliminate virtual job groups from the reports, you will need to either bring in the job group or bring in the job and assign it to one of the host AAP’s job groups.
Bring in a job group from another plan.
- 1) Click the Job Groups icon.
- 2) Click Tools and then Add In Job Groups From Other Plans.
- 3) Click Yes on the message that appears.
- 4) Assign recruitment weights and statistical sources to any newly-added job groups by following the steps in the Assign Weight to Your Recruiting Factors and Determine Availability.
Bring in and assign the job to an existing job group.
- 1) Click the Jobs icon.
- 2) If the job is not in the job list, click Tools and then Import Jobs from Employees Reporting In To This Plan.
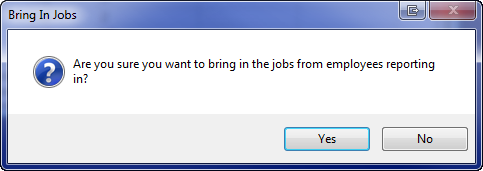
- 3) Click Yes when the following message appears.
- 4) Click OK when the following message appears.
- 5) Sort the job list by job group to move to the top the jobs that are missing job groups. To assign the associated job group either type in the job group code or use the search icon on the right side of the empty job group cell to select it.
© Copyright Yocom & McKee, Inc.


